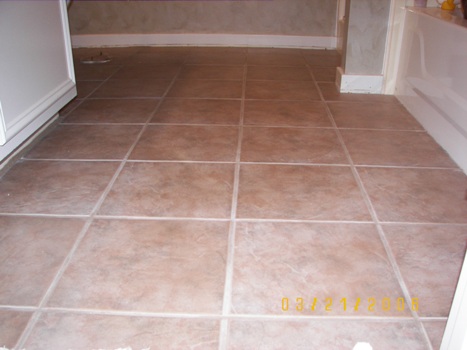
I’ve said it before and I’ll say it again – what a difference grout makes!!! I’m still amazed at how different, and how much better, the ceramic tile looks after you lay it, once you add that grout in between the actual tiles. It really makes all the difference in the world!
We’re in the downhill stretch now. Tim has done really well with our bathroom – and I must give him all the credit. He’s done every bit of this room by himself, from start to finish. I had helped with all of the other rooms, but this room is just so much smaller, that there really is not enough room for two people to move around at all. So, he’s taken the lead and done every bit of it himself, and he’s done a great job.
Click on the extended entry to see the pictures of what he’s done lately, and how it looks now…
Here’s what the grout looks like in the bucket – looks like a big glob of wet cement, huh? Actually, it looks a lot like the mortar that you mix up to lay down and place each tile on. They are very similar!

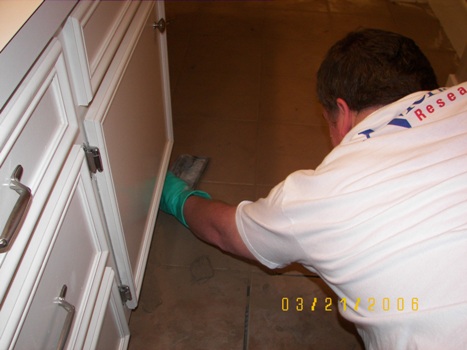
Here’s Tim spreading the grout (hard to get a picture of it, the room is so small and I couldn’t get a good angle from the bedroom):

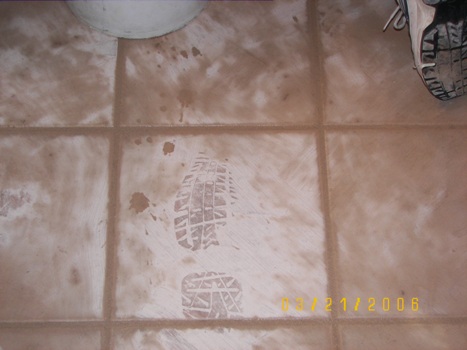
After you spread the grout, you have to make a pass through with water to sponge it off. Then after that dries, you have to make another pass or two to buff off the haze that’s left. Here’s what the haze looks like (complete with footprint!!) before it’s sponged off:

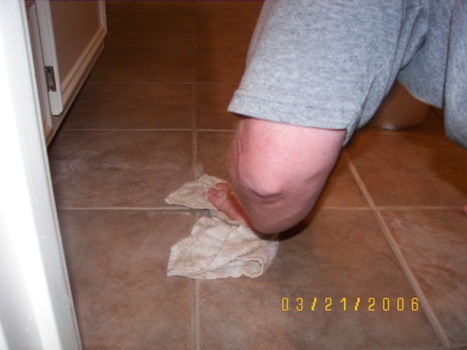
After the water work (didn’t get a picture of that), then comes the buffing:
Finally – I’ve said it before, but it is so true – what a difference grout makes!:

Now – I have my homework, a la Trading Spaces, for the next few days. I will spray the grout with a fine mist of water, twice a day, for three days, in order to cure the grout. After that, we’ll apply the sealer, and then we can move the toilet back in and move back out of the guest bathroom into our bathroom. YEAH!


Nice, nice work!
I’ve got 2 bathrooms upstairs that need doing when he’s through there 🙂
Amen to that !!
Add A Comment